It’s a teeny tiny track but one of the biggest names on the calendar: Monaco.
With overtaking borderline impossible, qualifying is key. Ferrari and McLaren make up the front rows, Verstappen only manages P6 and Perez P16, Albon is up at P9, Gasly at P10, while both Haas cars are disqualified and start at the back due to dodgy rear wings. Already, it’s shaping up to be an interesting one.
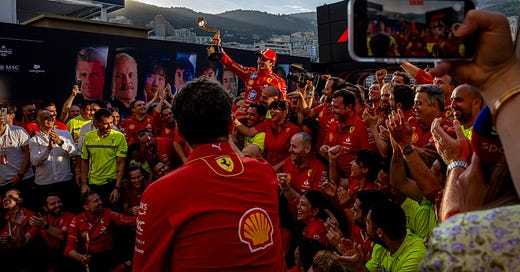
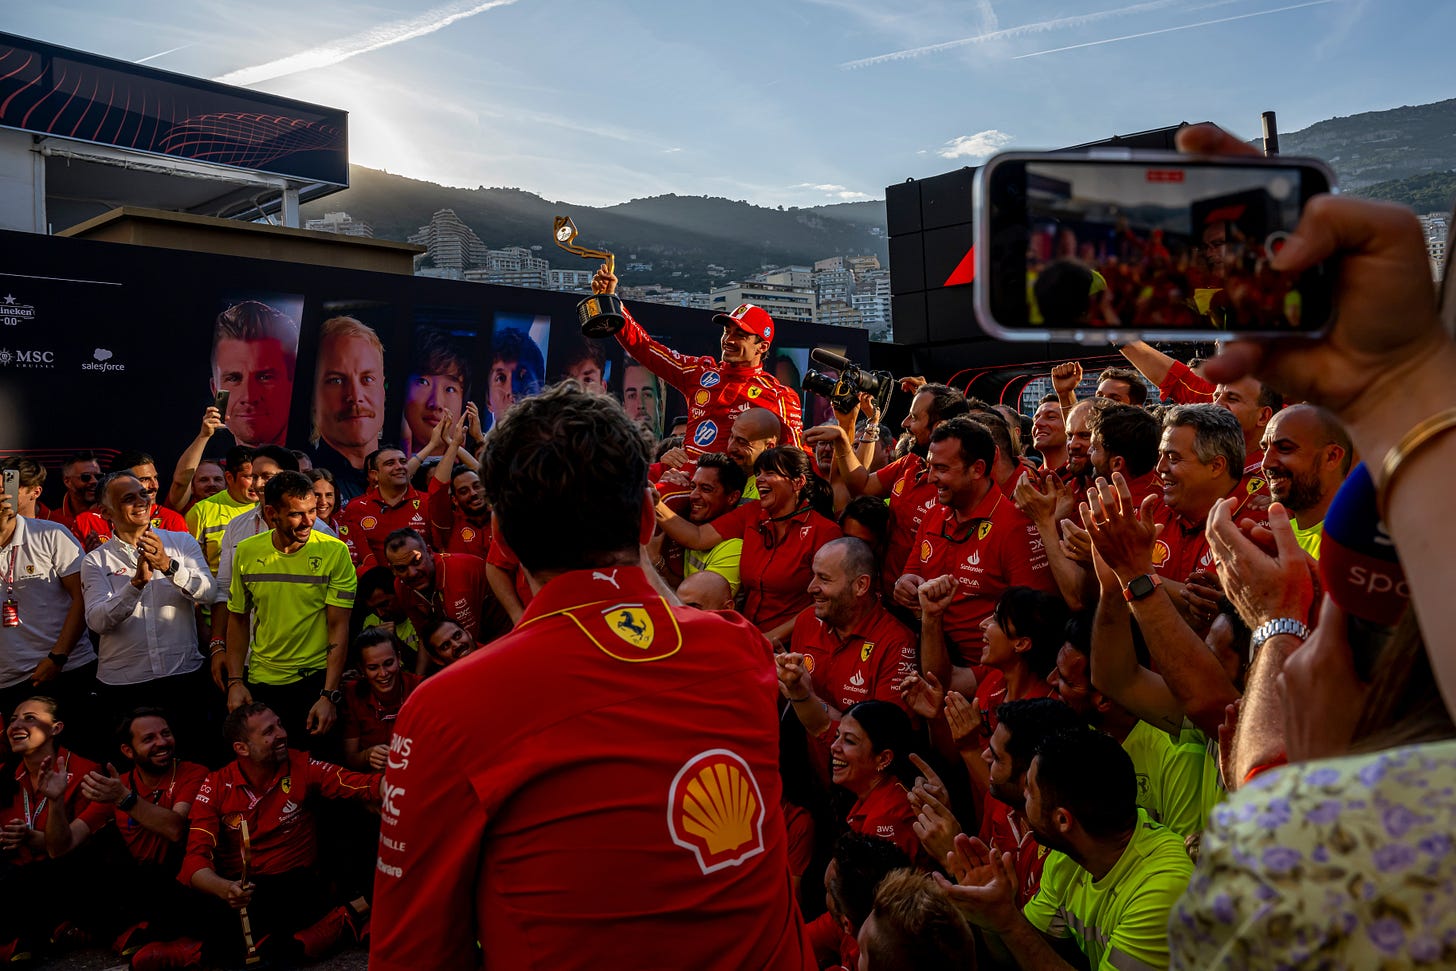
Let’s give credit where credit is due – Leclerc absolutely nails it and takes P1 at his home race. Very well deserved.
Spoiler alert – the top 10 finish in their starting grid positions. But I promise it’s more exciting than that…
Lap 1 is chaos. Sainz and Piastri touch – the Ferrari suffers a puncture and pulls out of the oncoming corner to safety. Further back, Perez is tagged by Magnussen who tries to sneak alongside him – the Red Bull is sent flying sideways along the track, hitting the barrier with such force that the car basically disintegrates around the driver – who miraculously comes out unscathed. The spinning Red Bull tags the other Haas of Hulkenberg in the crash, resulting in both Haas drivers out in Lap 1. Perez’s car is totally destroyed.
But that’s not all. In the same lap, Ocon attempts a questionable overtake of his teammate as they come into the tunnel. As Ocon cuts across Gasly, he is sent momentarily skywards – causing damage to both cars (and his career). While the Red Bull/Haas crash is deemed a racing incident, Ocon receives a 5-place grid penalty, having had to retire the car.
Following a lengthy red flag, the cars (minus four) are back on the grid in their original starting order. I would be lying if I said the rest of the race is as exciting as that first lap of carnage, but let’s talk strategy.
So, we know that in every race each car must drive on both sets of tyre compounds. Monaco is very short (in terms of distance) so a tyre change isn’t essential in terms of performance – they could manage the whole thing on a set of hards. What the teams are looking for is a safety car or red flag to get their mandatory tyre change done without impacting their race. This comes in Lap 1. Everyone gets their change done, so technically they can all go to the end without pitting.
Up at the top is Leclerc, followed by Piastri, Sainz then Norris. These four pull away. Behind them is Russell who puts quite a gap between himself and Norris. If the gap between Russell and Norris gets big enough (just over 20 seconds) then Norris could conceivably pit and come out without losing his position, and then attack Sainz on fresh tyres. Therefore, Leclerc up front has to be careful not to increase that gap by pulling away and bringing the others with him – stretching the gap between Norris and Russell. So there’s a bit of a stand off. The Ferraris and McLarens end up glued to each other, with everyone trying to predict any sudden moves.
While the top four opt for nursing their tyres to the end, Hamilton and Verstappen go for a late change. The increase in speed is impressive – Verstappen gains 2 seconds on Russell per lap, even breaking DRS. However, track position proves the superior strategy in Monaco as the Red Bull simply cannot get round the Mercedes on track. Russell’s gap from Norris throughout allows him protect his tyres, enabling him to defend himself from Verstappen’s late challenge. He retains P5, with Verstappen taking P6, Hamilton P7, and Tsunoda P8.
Elsewhere, Alonso protects his teammate Stroll who sits on the verge of points at P11, by holding back the midfield. Unfortunately, Stroll suffers a late puncture and loses the position. On soft tyres he manages a couple of overtakes (impressive in Monaco) and finishes P14, while Alonso takes P11.
It’s points for Alpine and Williams! Albon keeps hold of P9 and Gasly, despite nearly being taken out by his teammate, takes P10. Ricciardo manages P12, followed by Bottas, Stroll, Sargeant and Zhou.
If I hadn’t started learning about F1 I would’ve tuned out pretty quick on this one, but once you get the hang of little snippets of strategy it’s a game changer.


